Your first interactive device display
Goal: click the blue Device to turn it orange; press Reset color to make it blue again. Allow 15–20 minutes.
See the result first
A simple shape stands in for a device. Clicking gives visual feedback; the button restores its color. Learn object targets, Graph click events and UI actions.
Actual screenshots of the completed example. Click an image to enlarge it.
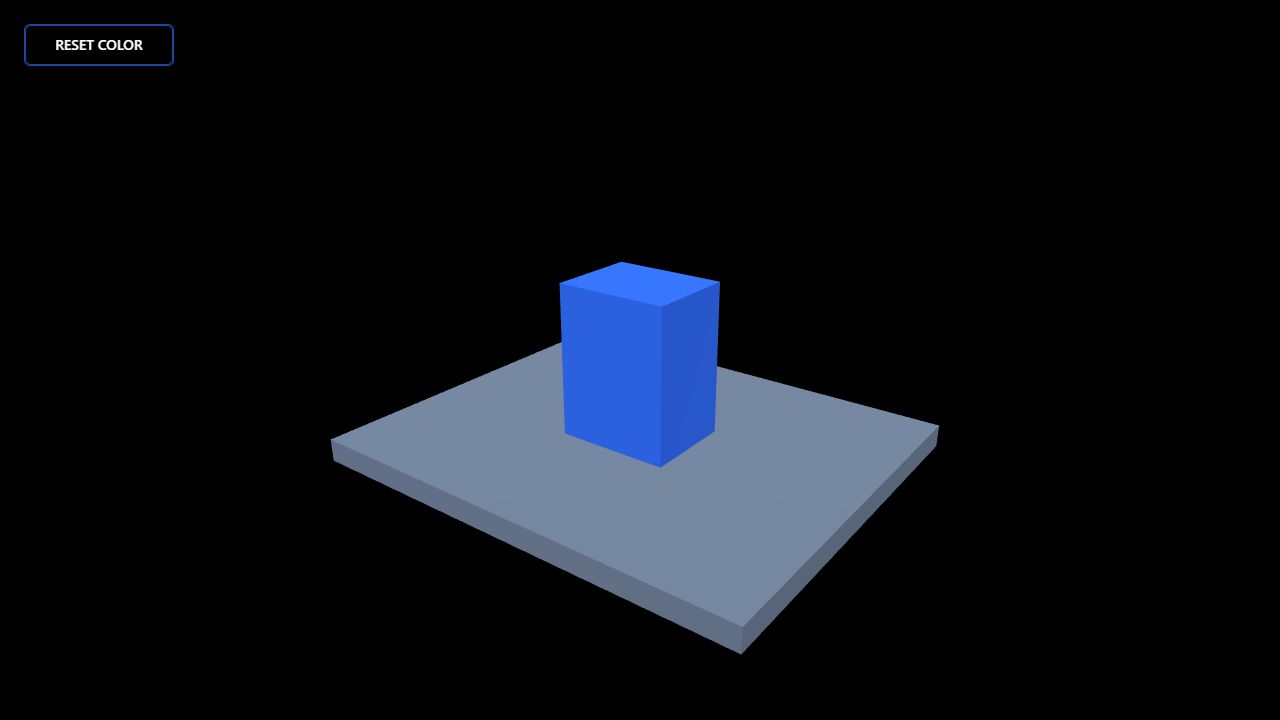
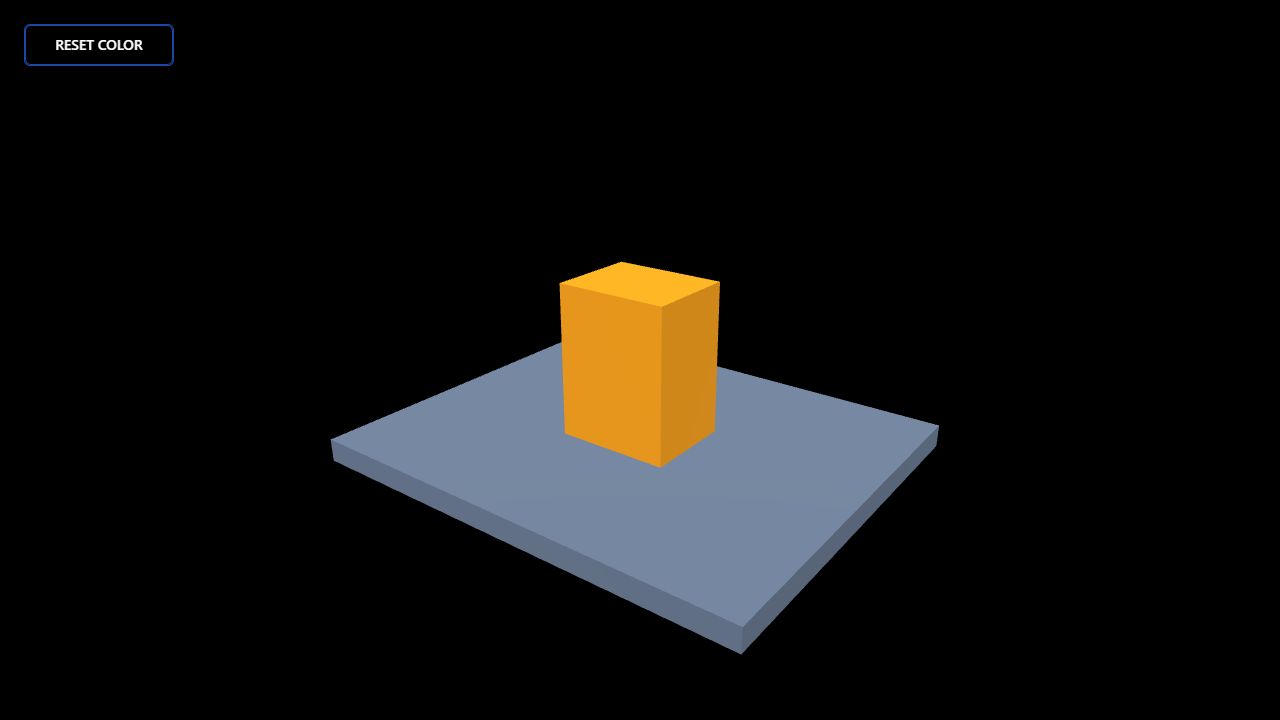
This lesson teaches interaction logic. You can replace the simple geometry with your own model later.
Try it yourself
Starting archive · Completed archive
1. Open the starting scene
Import the ZIP into a dedicated practice project. It contains Device, Platform and two lights. Device measures 1.5 × 2 × 1.2, sits at (0, 1, 0) and uses #2563eb. Select and focus Device. Use its current object identifier when configuring targets.
2. Add the click event
Open Graph and add On Object Click. Select Device, or copy its identifier into UUID (fallback). Set event to pointerup, button to 0 (left mouse button) and debounce(ms) to 60.
3. Add the color action
Add Set Object Material Color, target the same Device and set Color to #f59e0b. Connect clicked to Trigger.
On Object Click.clicked → Set Object Material Color.Trigger4. Add a reset button
Open 2D Layer, add a Button and label it Reset color. Select action material.setColor, target the current Device and set color to #2563eb. Place it at the top left, approximately 150 × 42 pixels.
5. Run and check
Save and open the runtime. Press Start if session controls are shown. Click Device: it should become orange. Press Reset color: it should become blue. Stop and run again, repeating three times.
Troubleshooting
If clicking only selects an object, leave editing mode. If nothing changes, check that the runtime has started, that the identifier belongs to the current Device and that the wire reaches Trigger. If only the button works, check the event and mouse-button settings. Do not reimport repeatedly: that can replace your work.
Next: temperature and alarms.